Monday, December 30, 2013

2013 Year in Review

Good Morning Everyone!!!
Hard to believe this year went by fast but...
What a Bless Crafty 2013 Year I have...full of inspiration creativity and the pleasure to share my inspiration with you all. I Thank You for letting being part of your crafty life but most of all, Thank You for sharing your acknowledge with me and others.

I Thank the Lord for giving me this talent and to have the opportunity to share, with all of my amazing Blog,  Facebook, Pinterest Friends, we for sure have different levels of creativity, we are so talented cheers for that!!!

Thank to all who has Follow My Blog during this 2013 Year, and to those who has like My Facebook Page I'm very grateful to have you all, My Crafty Family!!

I Thank all My Close To My Heart faithful Costumers who has been Supporting My CTMH Business during the year 2013.

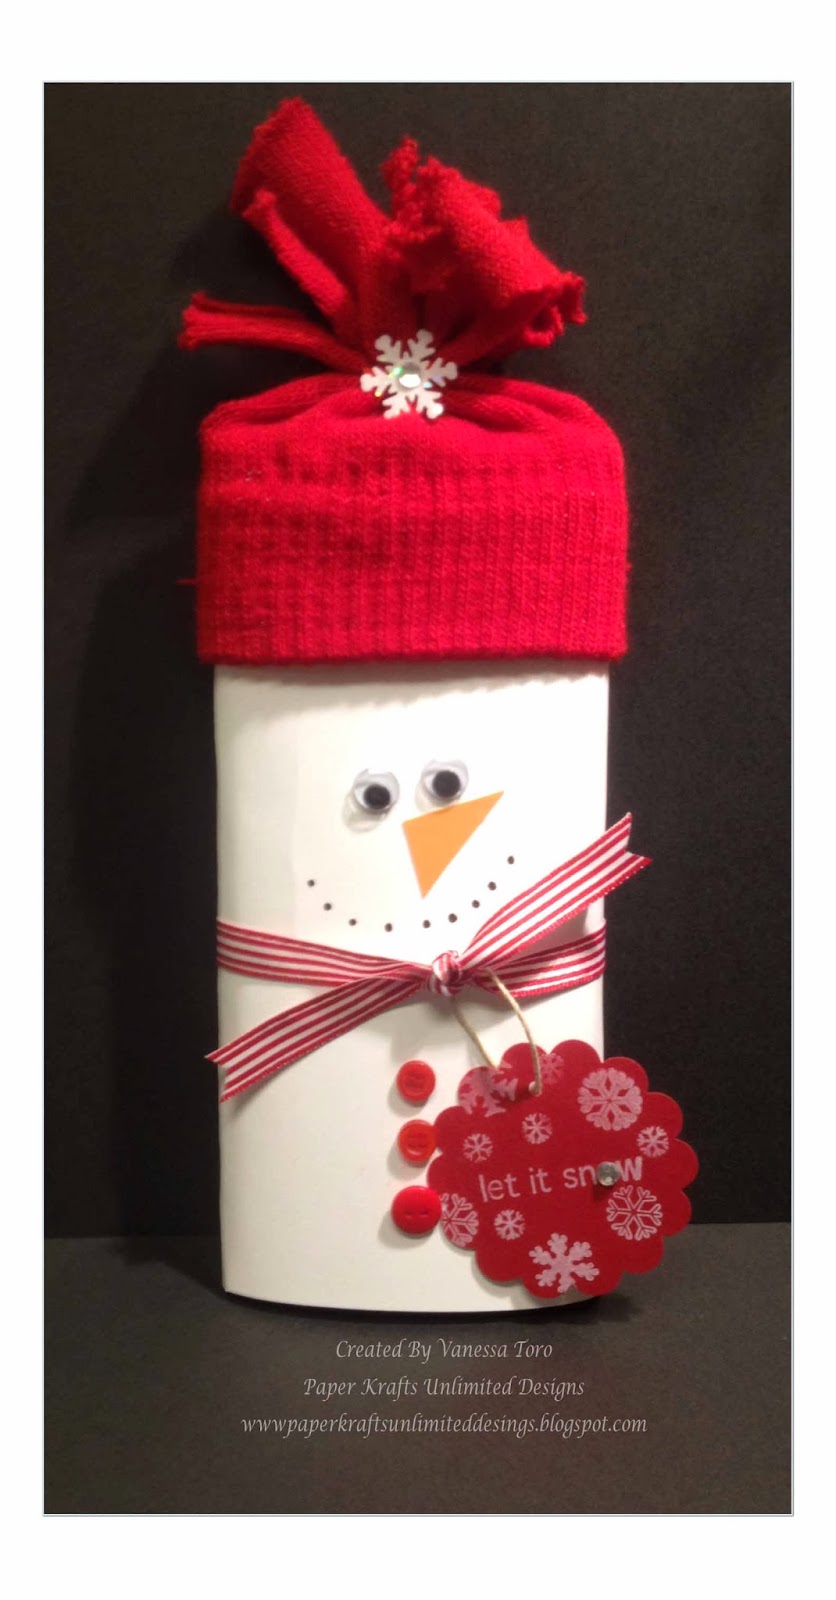
Today's I'm sharing some of my projects I have done during the year 2013. I took a long break from July 2013 to September 2013.
 January, February, March and April

May June .... October
 November
December
Let's 2014 be a Amazing Year filled with Inspiration, Creativity, Love, Laughter Happiness Joy and Peace!!! 
Happy New Year 2014!!!
Hugs to All,

Tuesday, December 24, 2013

A Holiday Treat

Good Day Everyone!!!
Today's project is a Tic-Tacs Mints Candies. I cover them using Red shimmer card stock, I have on my stash of papers, If I can remember correctly I bought it from Joann's Fabrics.
* Cut a piece of cardstock of your choice at 4 3/4'' by 3 1/2''
*Score at 2" and 2 3/4'
*Adhered the Tic-Tacs using Glue Dots on the back to prevent sliding out of the cover.
*Secure them using the ribbon of your choice and tied a bow or a knot.
The Stamp Set is from Close To My Heart (S1210 Very Christmas) one of my favorites stamp this year! I used Artiste Cricut Collection to cut the shape from page 49, I stamp the image using Versa Mark and apply Cranberry Embossing Powder(Z659) from CTMH
10 of them!!!
They came out so cute and very festive, I'm very grateful to have important people next to me that really care about me and my family I'm very grateful for that!! A homemade simple gift says a lot...
From the bottom of my Heart Merry Christmas, Many Blessings to you and yours, from Our Home to Yours!!!
Warm Hugs


Monday, December 23, 2013

Dove Chocolate Treat Bags

Good Morning Everyone!!!
Today's project is a Treat Bag fill with Dove Chocolates for 6th graders as a Holiday Treat. This is a very simple bag that you can put together in less than 2 hrs, believe me I have made 27 of them. Once you gather all your supplies, and have a assembly line is goes quick.
Isn't a lovely treat bags!!
I have try this Holiday Season to use my stash as much as possible, I did very well using them so let me give the measurements in case you would like to try them, and let me tell you... it can easily  be done to any other Holiday, Birthday or any occasion.
Start with a 6 x 51/2 cardstock of your choice, and score at 1" 2 3/4" 3 3/4" and 5 1/2
turn the paper and score at 1"
use Red Tape or Sticky Tape at the 1'' mark,  make sure you cut the square side to make the flaps and use a stronger adhesive. You can punch 2 hole at the top or you also can staple any way you would like.
Student were very happy to get one of these, don't know if because there were a treat inside or just because the bag or both. But they were very Happy that's what matter spreading the Holiday Cheer!!
Thank You for all your comments and for stopping by!
Wishing you a Very Merry Christmas and God Bless you all from Our House to Yours.
Thank You All.

Wednesday, December 18, 2013

Santa's Belly

Happy Wednesday Friends!!!
Today's Post is all about Santa's Belly, I'm pretty sure Santa Claus would have enough energy to deliver all his presents this year....
I made this cute Santa's Belly for all my daughters elementary teacher, I save all my empty Starbucks Cold Coffee bottles....
I wash them with lukerwarm water and let it air dry....The process began...
I used Dove chocolates and they will match perfectly with Santa's Outfit.
All Papers are from my stash except for the Silver paper that are from Close To My Heart
For the sentiment I use Perfect Fits Holidays B1412 Stamp Set and Holiday Red Exclusive Ink Pad from Close To My Heart
 I wish all of you a Safe and Bless Holiday Season and a very Merry Christmas from my family to yours!!!
Thank You for visiting me and for all your comments!!!


Monday, December 16, 2013

Snowman Soup Gifts

Good Morning Everyone!!
Today's project is this easy peasy Snowman Soup Paint Bucket, I made from the begining to the end. Everything as you can see is Handmade except for the lids :)
I start thinking What other gift I can made, without expending extra money and the Middle School teachers would love.
I said Manson Jars? Not that cost a fortune when I need 6, for the Middle School Teachers, Store Bough Paint Buckets, Not that will add up,even more right?
I remember myself I have some Transparency Paper sitting in the shelf....Bingo 
So the process began...
I cut the Transparency Paper 9x6 1/2 and add Sticky/Red Tape Only in the back, dont worry the Lids will keep it tight and the White and Red Yarn will serve as extra protection closure...
I used Sparkle and Shine papers from Close To My Heart if I only new I will be addicted to this Paper Packet is so beautiful and the colors are AMAZING!
I cut 1/2'' strips from the coordinates designs papers include on this Packet to cover the lids around, again using the Sticky Tape or Red Tape...Isn't this Gifts ADORABLE, I ended making 11 of this, for my husband and my oldest son, they want some, to give away and 1 extra for me!!!
Look at his cute happy face, I just love him....
The Stamp I use is Share the Magic (Retired) D1443 one of my old times favorite stamps from Close To My Heart, I got to love this company!!! For the Scallop I use Art Philosophy Cricut Collection cut it at 3'' page 41 and for the circle I cut it at 2 3/4'' white for the stamp and Cranberry for the Lids Tops and add Foam Dots.
I use Red and White Yarn to secure the bottom and Top Lid as I mention above. I think every project deserve some kind of Bling Bling or a touch of sparkle right,
 a touch of Liquid Glass Glue and some Silver Glitter from my stash and he is all ready!!! I colored the image using Cranberry Exclusive Markers Set and Sweet Leaf Exclusive Markers Set for his twigs I colored them using Water Color Pencils Brown Bag
Candy Canes, Marshmellows and 1 pack of store bough Hot Cocoa are the ingredients that are inside!!!
Thank You for stoping by and Have a Bless Merry Christmas!!!
If you have any questions Please don't hestitate to contact me!!!
Thank You all for the sweet and inspiring comments in means a lot!!!


Tuesday, December 10, 2013

12 Days of Christmas Projects Post Day 12

Good Day Friends!!!
Today is my last post of My 12 Days of Christmas Projects Post Day 12.
I made this altered charger plate, as you know my Christmas Decor is blue and silver, What a great addition to my decor I was looking for Elegance and Simplicity and I'm pleased with the final project.
 I use White Cricut Vinyl for the Swirly Tree.
I add Silver Rhinestones to the end of each swirl.
This image is came from Silhouette Store.
I took the next image from where I am displaying my Elegant Altered Charger Plate.

Thank You all for been with me on this Fabulous and Fun 12 Day of Christmas Projects Post, it's been an amazing experience and I hope I have inspired you in some way to get all your Christmas Projects Done, or at least to get you start it.
Thank You all.
Have a Happy Safe Holiday Season, May the Christmas Cheer be with you and your family,
God Bless You all!!!!


Monday, December 9, 2013

12 Days Of Christmas Project Post Day 11

Happy Monday Friends!!!
I hope you have a great weekend!!
OMG I can't believed is Day 11 of My 12 Christmas Projects Post.
Well for my today's project I have a little gift for all my costumers, I made 10 of these, this are 3x3 cards with matching 3x3 box, I know they will love it. Is my way to said Thank You for all their business with Close To My Heart Thank You all!
I couldn't Done it without you Support I appreciated all of you!!


I use Sparkle and Shine WOTG Scrapbooking Kit and I emboss the sentiment "Merry Christmas" and "Happy Holidays" using the Holiday Tags D1560.
I used Transparency Paper for the 3x3 Box Top. The Box base measure 5 1/4 and score at 1" all four sides, the top cover measure 5 2/4 and score at 1" all four side, make sure to apply extra pressure Transparency paper is "stubborn" don't like to be told what to do!!
Holiday Tags D1560 coordinates with Artiste Cricut Collection

Be sure to check back tomorrow for the 12 Days Christmas Projects Post Day 12!!!

Thank You for visiting me Today!!
Have a fabulous Day!!
Happy Holidays, and Merry Christmas to all!


Thursday, December 5, 2013

12 Days of Christmas Projects Post Day 10

Good Day Everyone!!
Today's project for Day 10 of My 12 Days of Christmas Project Post is a Adorable Snowman Card. Is a SVG File you can get over KWerner Designs Blog, I found this idea over her YouTube channel were she did a Tutorial with her friend, I love her videos, she is amazing paper crafter and her ideas are awesome!
Go grab her Free File HERE. You will love it.

 Thank You KWerner Design Blog for this Free File!


 Enter to WIN this Matching Snowman with Envelopes by leaving a comment here or my Facebook Page!!!
Good Luck to all!!!
Thank You for taking your precious time to stop by,
 and Thank You for all your comments!!
Happy Holidays and Merry Christmas
Hugs!


Wednesday, December 4, 2013

12 Day of Christmas Projects Post Day 9

Good Day Everyone!!!
I hope you are having a great week!!!
Today's projects for my 12 Days of Christmas Projects Post is this Starbucks Jars. This is an endless ideas for this AWESOME Jars. Just the shape of the bottle itself is great, I did this for my own, you have to treat your self, right!!!
I proudly display this beautifulproject at the entrance of my home.
"JOY"
I did this on my SCAL Program(Sure Cuts A Lot) on my computer using my lovely Cameo Machine.
How I did it? You might ask, well here I Go.
Very simple,
I use craft white paint, I pour about 1/4 of cup to 1/2 cup inside the bottle pour the excess out, you can add more if need it. I cut the letters using Vinyl with My Cameo Machine. You can use your Cricut too.
I bought some blue and silver pebbles from Walmart about 2 small bags, will do.
I add some bling bling (smallest ones)Clear Sparkle Assorment from Close To My Heart 

I add some extra bling bling to the top of the jar.

***TIP***
To remove the glue from their factory seal/sticker run the jar under lukewarm water and scrub it using Mr. Clean Magic Eraser Got to love them, Brilliant!!!
I am start collecting this bottles for upcoming projects!!! Yayyyy
Thank You for taking your time to visit me Today!!!
Thank You for all comments I enjoy them, you all are very special to me Thank You 
Happy Holidays and Merry Christmas!!!


Tuesday, December 3, 2013

12 Days of Christmas Projects Post Day 8

Good Day Friends!!!
Who does not love chocolate, combine with cuteness?
I know I am...
My project for Day 8 of My 12 Days of Christmas Projects Post, is a pair of snowman's (boy red and girl pink/purple-ish) wrapped in sweeties....I mean chocolate, they are a Hershey's Extra-large Bar.
Isn't adorable both of them, believe me I'm in love with them, I can't handle this cuties. I wrapped a piece of White Daisy Cardstock from Close To My Heart around of the bar. 
I use Mittens for their Winter Hat, wiggle eyes for the boy and I free hand cut his nose.
His tag sentiment says "let it snow", the stamp set is from Fiskars 
For the Girl I use Peachy Keen Happy Face Stamp Set for her face I also use pink mitten for her Winter Hat, add few bottoms.
The sentiment says "Happy Holiday" I use pink since is a non traditional color for the holidays, added some bling bling and she is a cutie for sure!!
Thank You for stopping by, Leave your comments below and tell me what you think!!!
Follow me on my Facebook Page 
Happy Holidays and Merry Christmas !!!


Decorative Charger Plate

Hello and Welcome back Everyone! Today's project is a Black Charger Plate I did for My New Kitchen, using 631 Outdoor Gray Vinyl. ...